QUILT PRINT PAJAMAS - Closet Core Carolyn Pajamas in Vintage Cheater Quilt Print Fabric
Last week I wrote about Precious Fabrics, how we let them linger in our stash, and my desire to get past whatever is keeping me from using a fabric I know I love. This topic lead to some lovely and thoughtful conversations on Instagram. I wanted to take my own advice: sometimes the best use for a coveted, possibly irreplaceable fabric, is a simple garment that you know you will wear frequently.
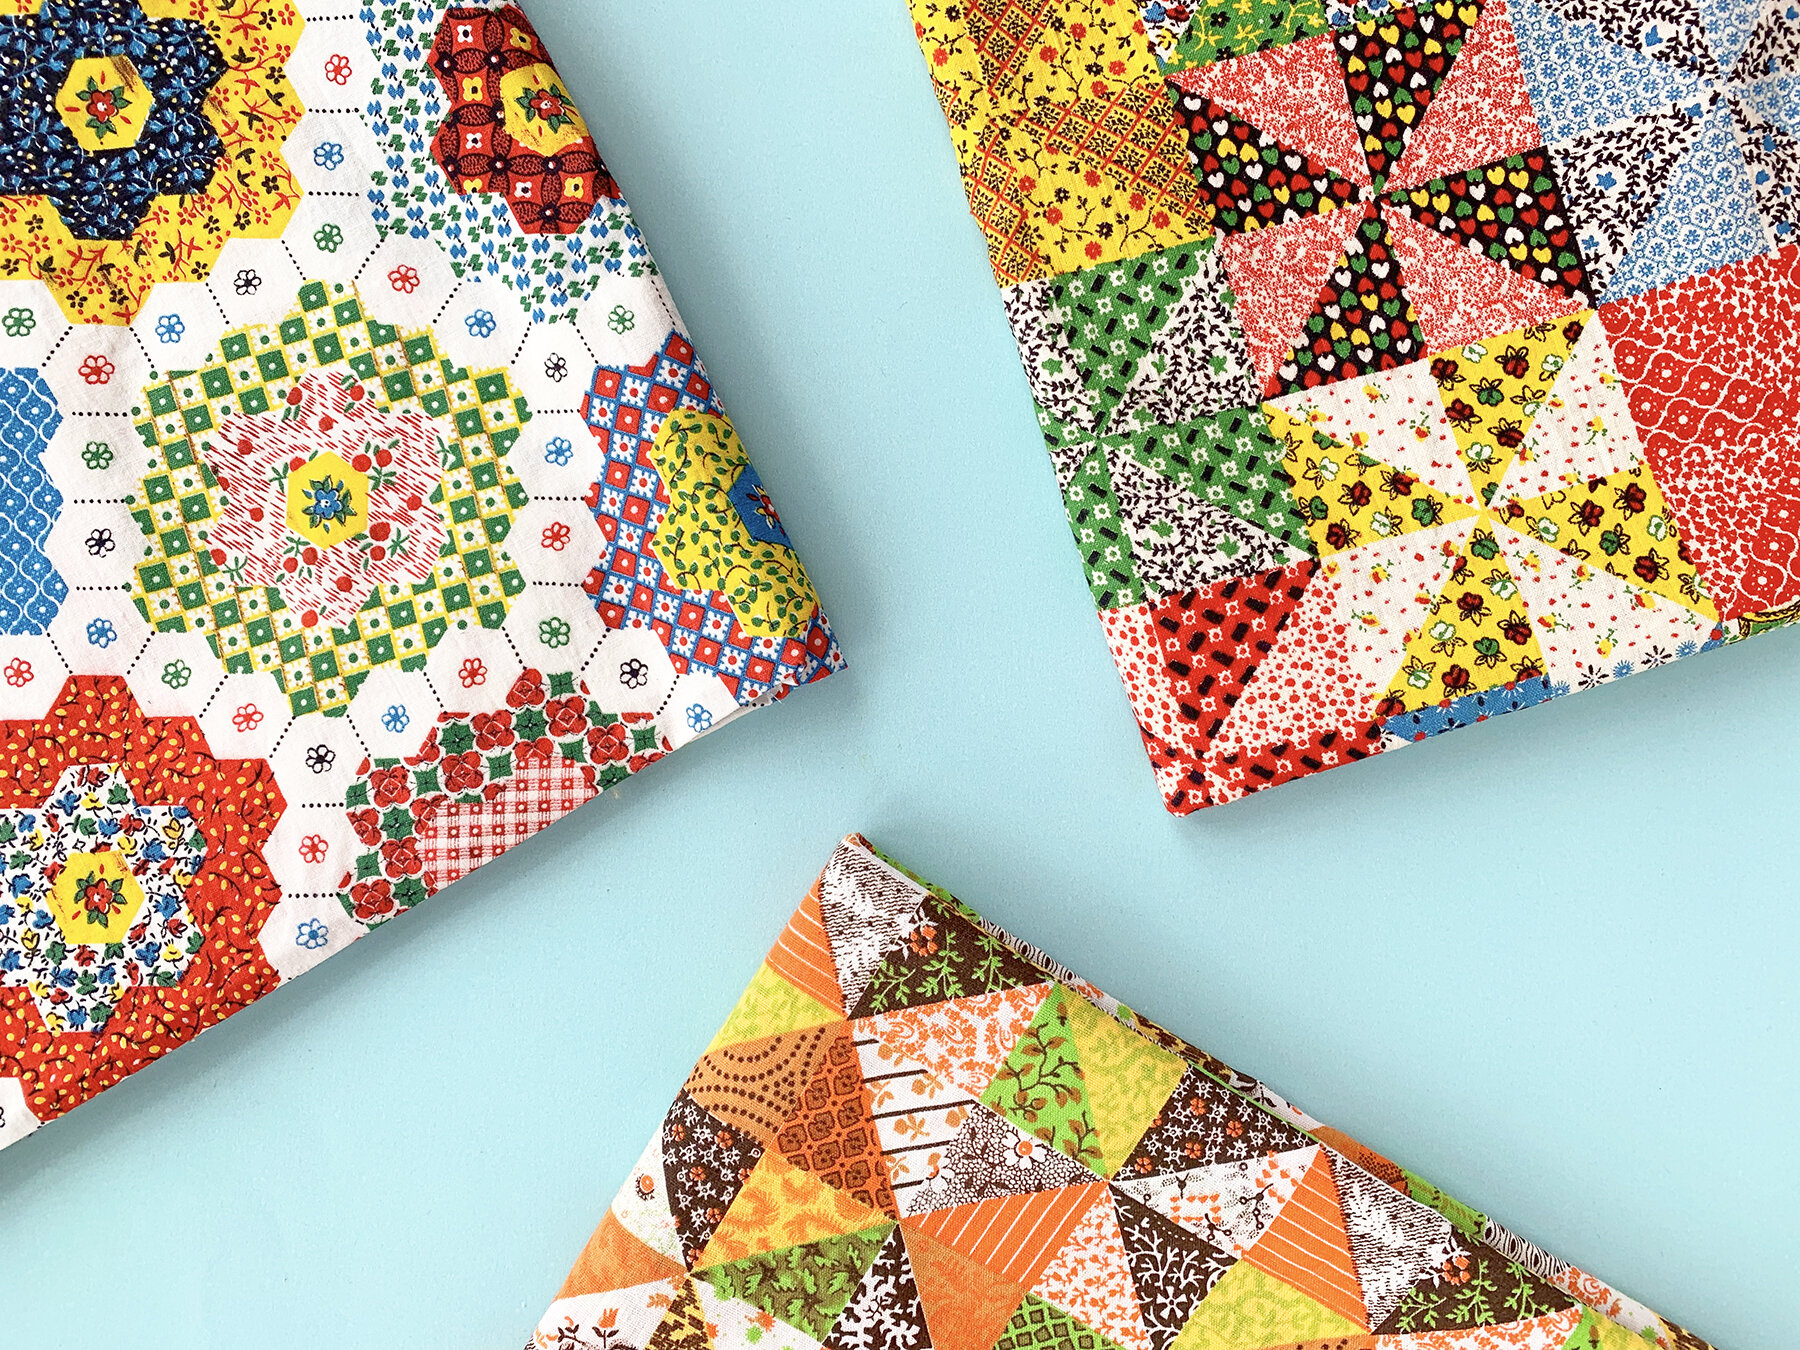
Some of the vintage cheater quilt fabrics in my collection.
After pawing through all of my fabrics, even the “deep stash” ones I usually don’t touch, I got extremely inspired. Additionally, my recent project of a cheater quilt printed, quilted jacket (what a tongue twister) got me thinking about the other cheater quilt fabrics in my stash. I couldn’t be more excited about the result of that jacket; it made me realize that these prints can be super wearable in simple garment shapes.
When took this grandmother’s flower garden printed cotton broadcloth off my shelf and opened it up, I realized I didn’t have three yards, as I had thought. I had six!! I’m not sure when I bought this fabric, maybe 2018? I don’t think I ever had a plan for it, I just loved it. It is narrow, about 34” wide, and in excellent condition. There are a few places where the darker colors of the print are smudged, and where the red has run a little bit into the white. I take these as reminders that the fabric was never meant to be treated as precious - it was printed quickly, was a trend, was meant to be used.
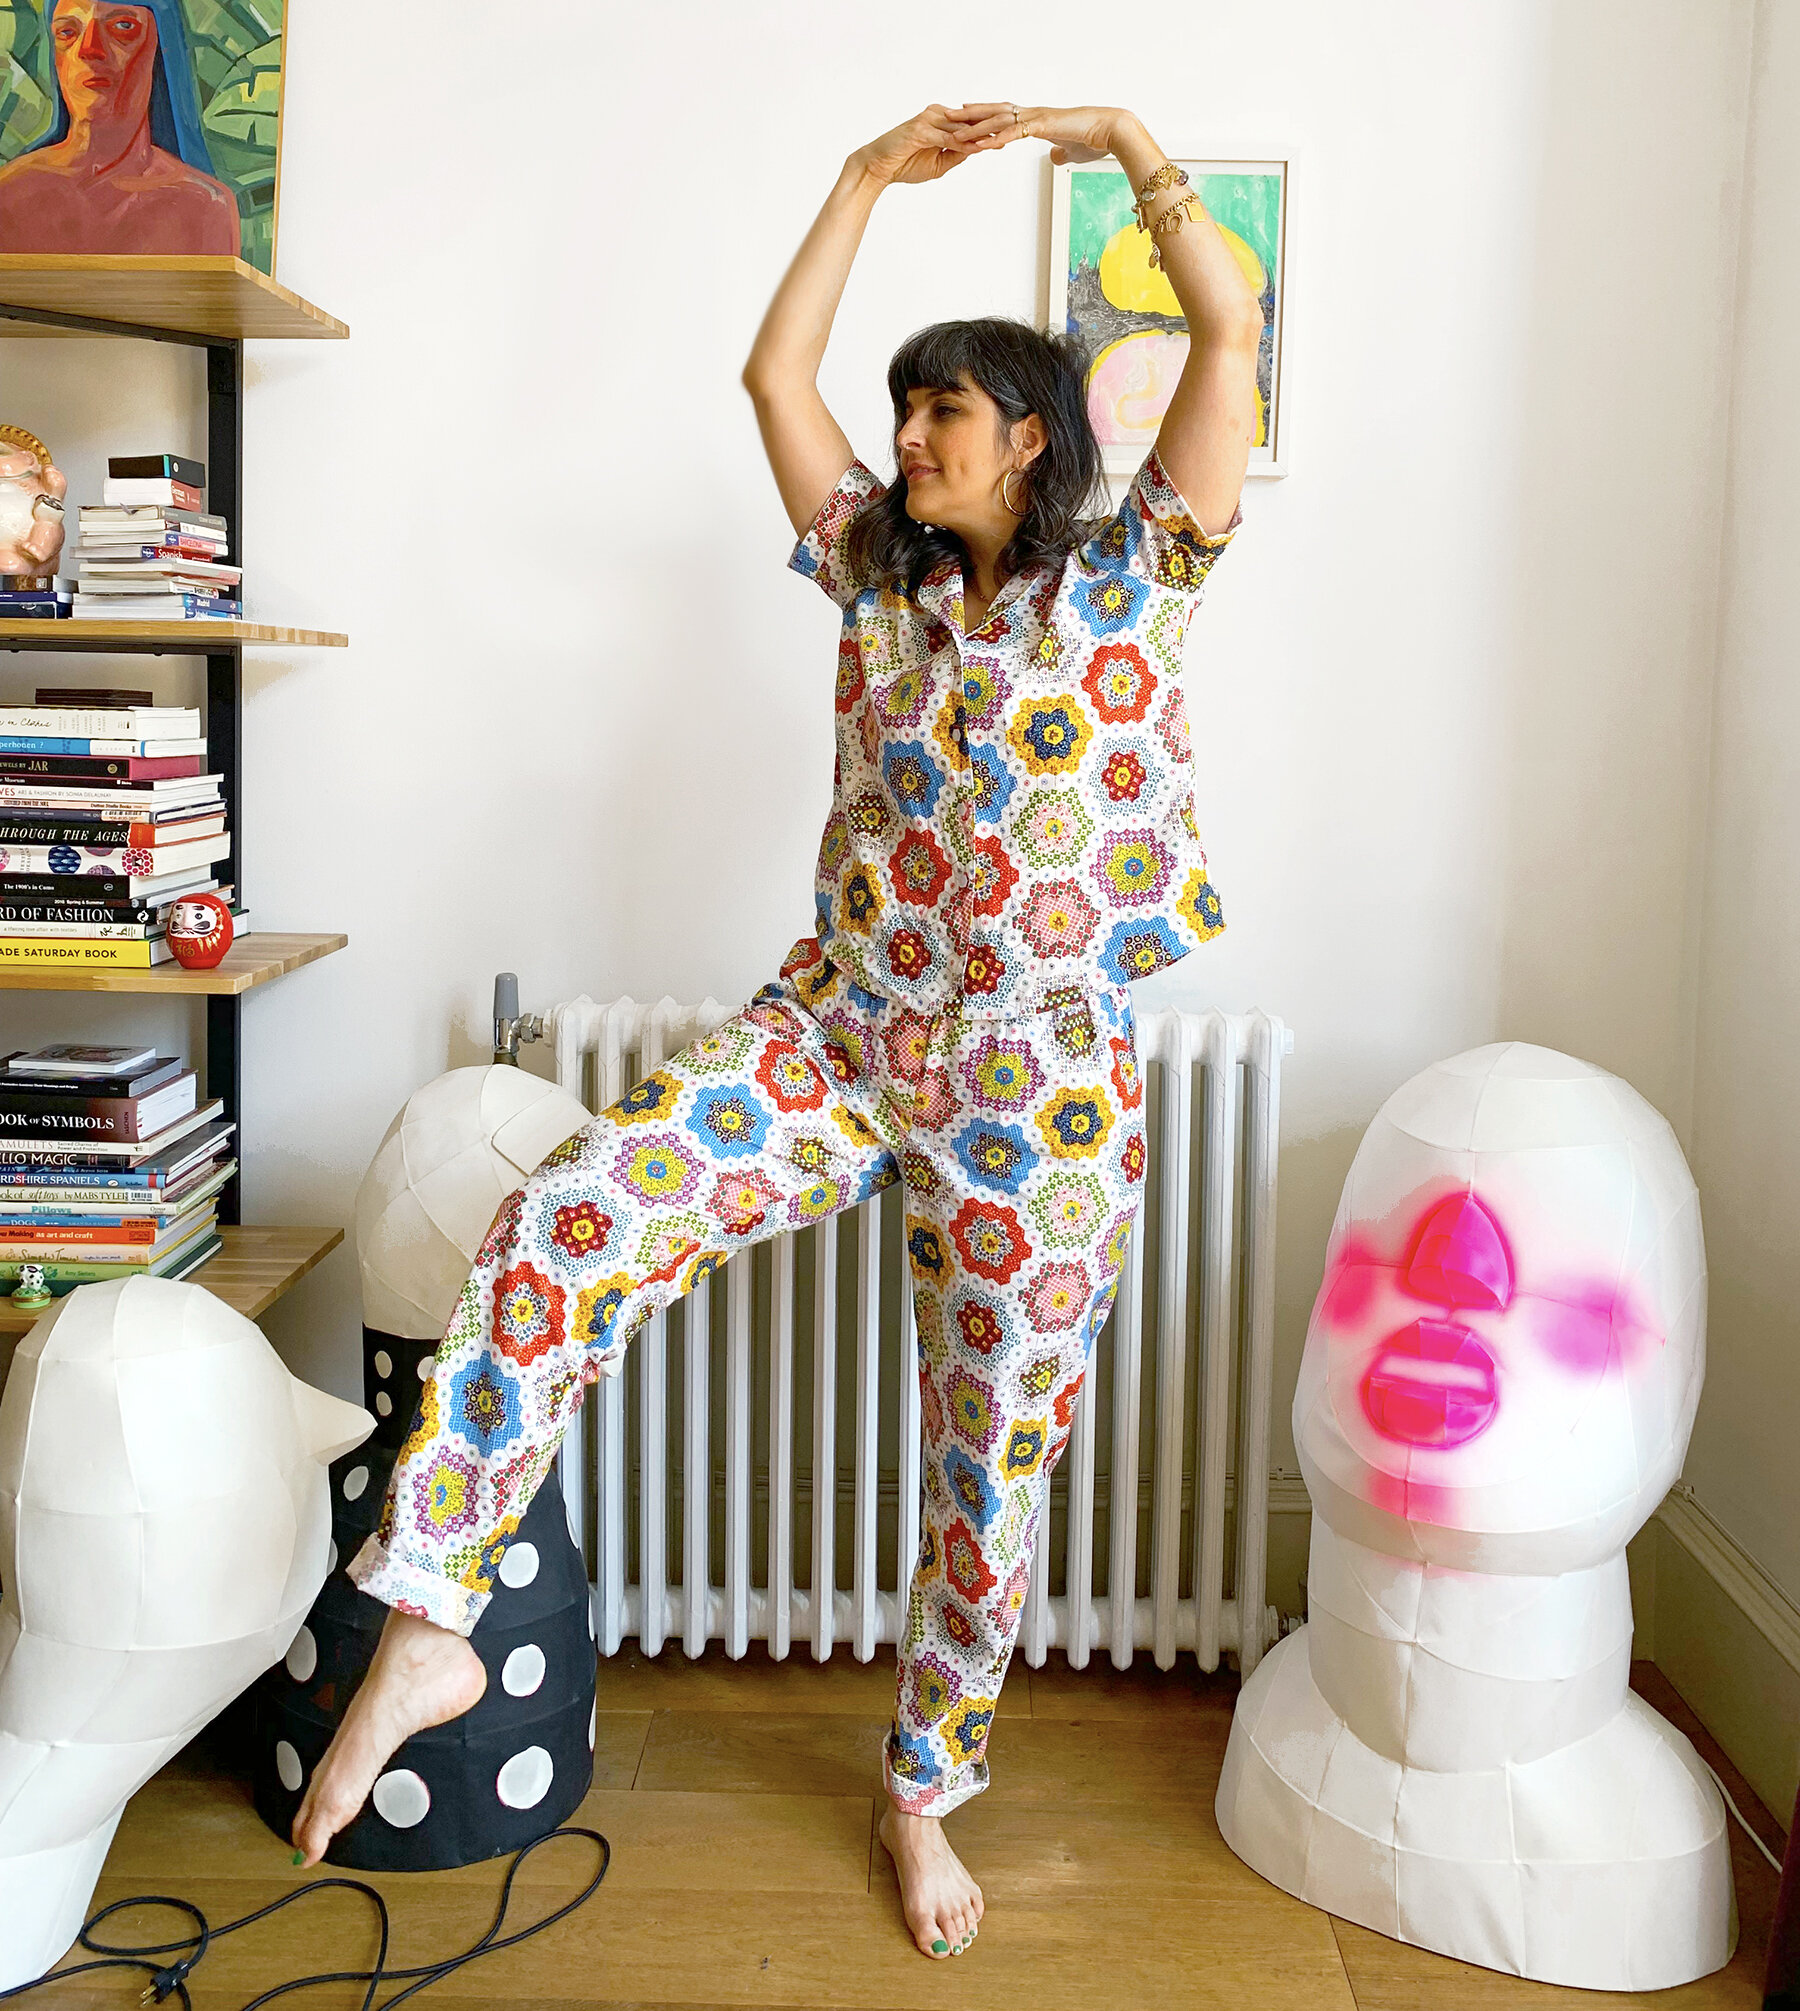
To me, six yards means either a dress with a lot of gathering, sleeves, and length - OR - separates. And when I think separates, I think pajamas! They are my most worn separates, and full disclosure, I wear the lilac linen short sleeve version of this pajama top that I sewed last summer exclusively as an outside outfit. So that settled it, I would sew a pair of Closet Core Patterns Carolyn Pajamas. But with a few modifications to make the street legal while remaining slumber party appropriate.
After sewing this pattern lots of times, it goes together super quickly, especially when I leave off the piping. I’ve already adjusted this pattern to fit me and written about the sizing, so any further changes I made this time around were purely for looks. I start with size 12 on top and 16 for the pants.
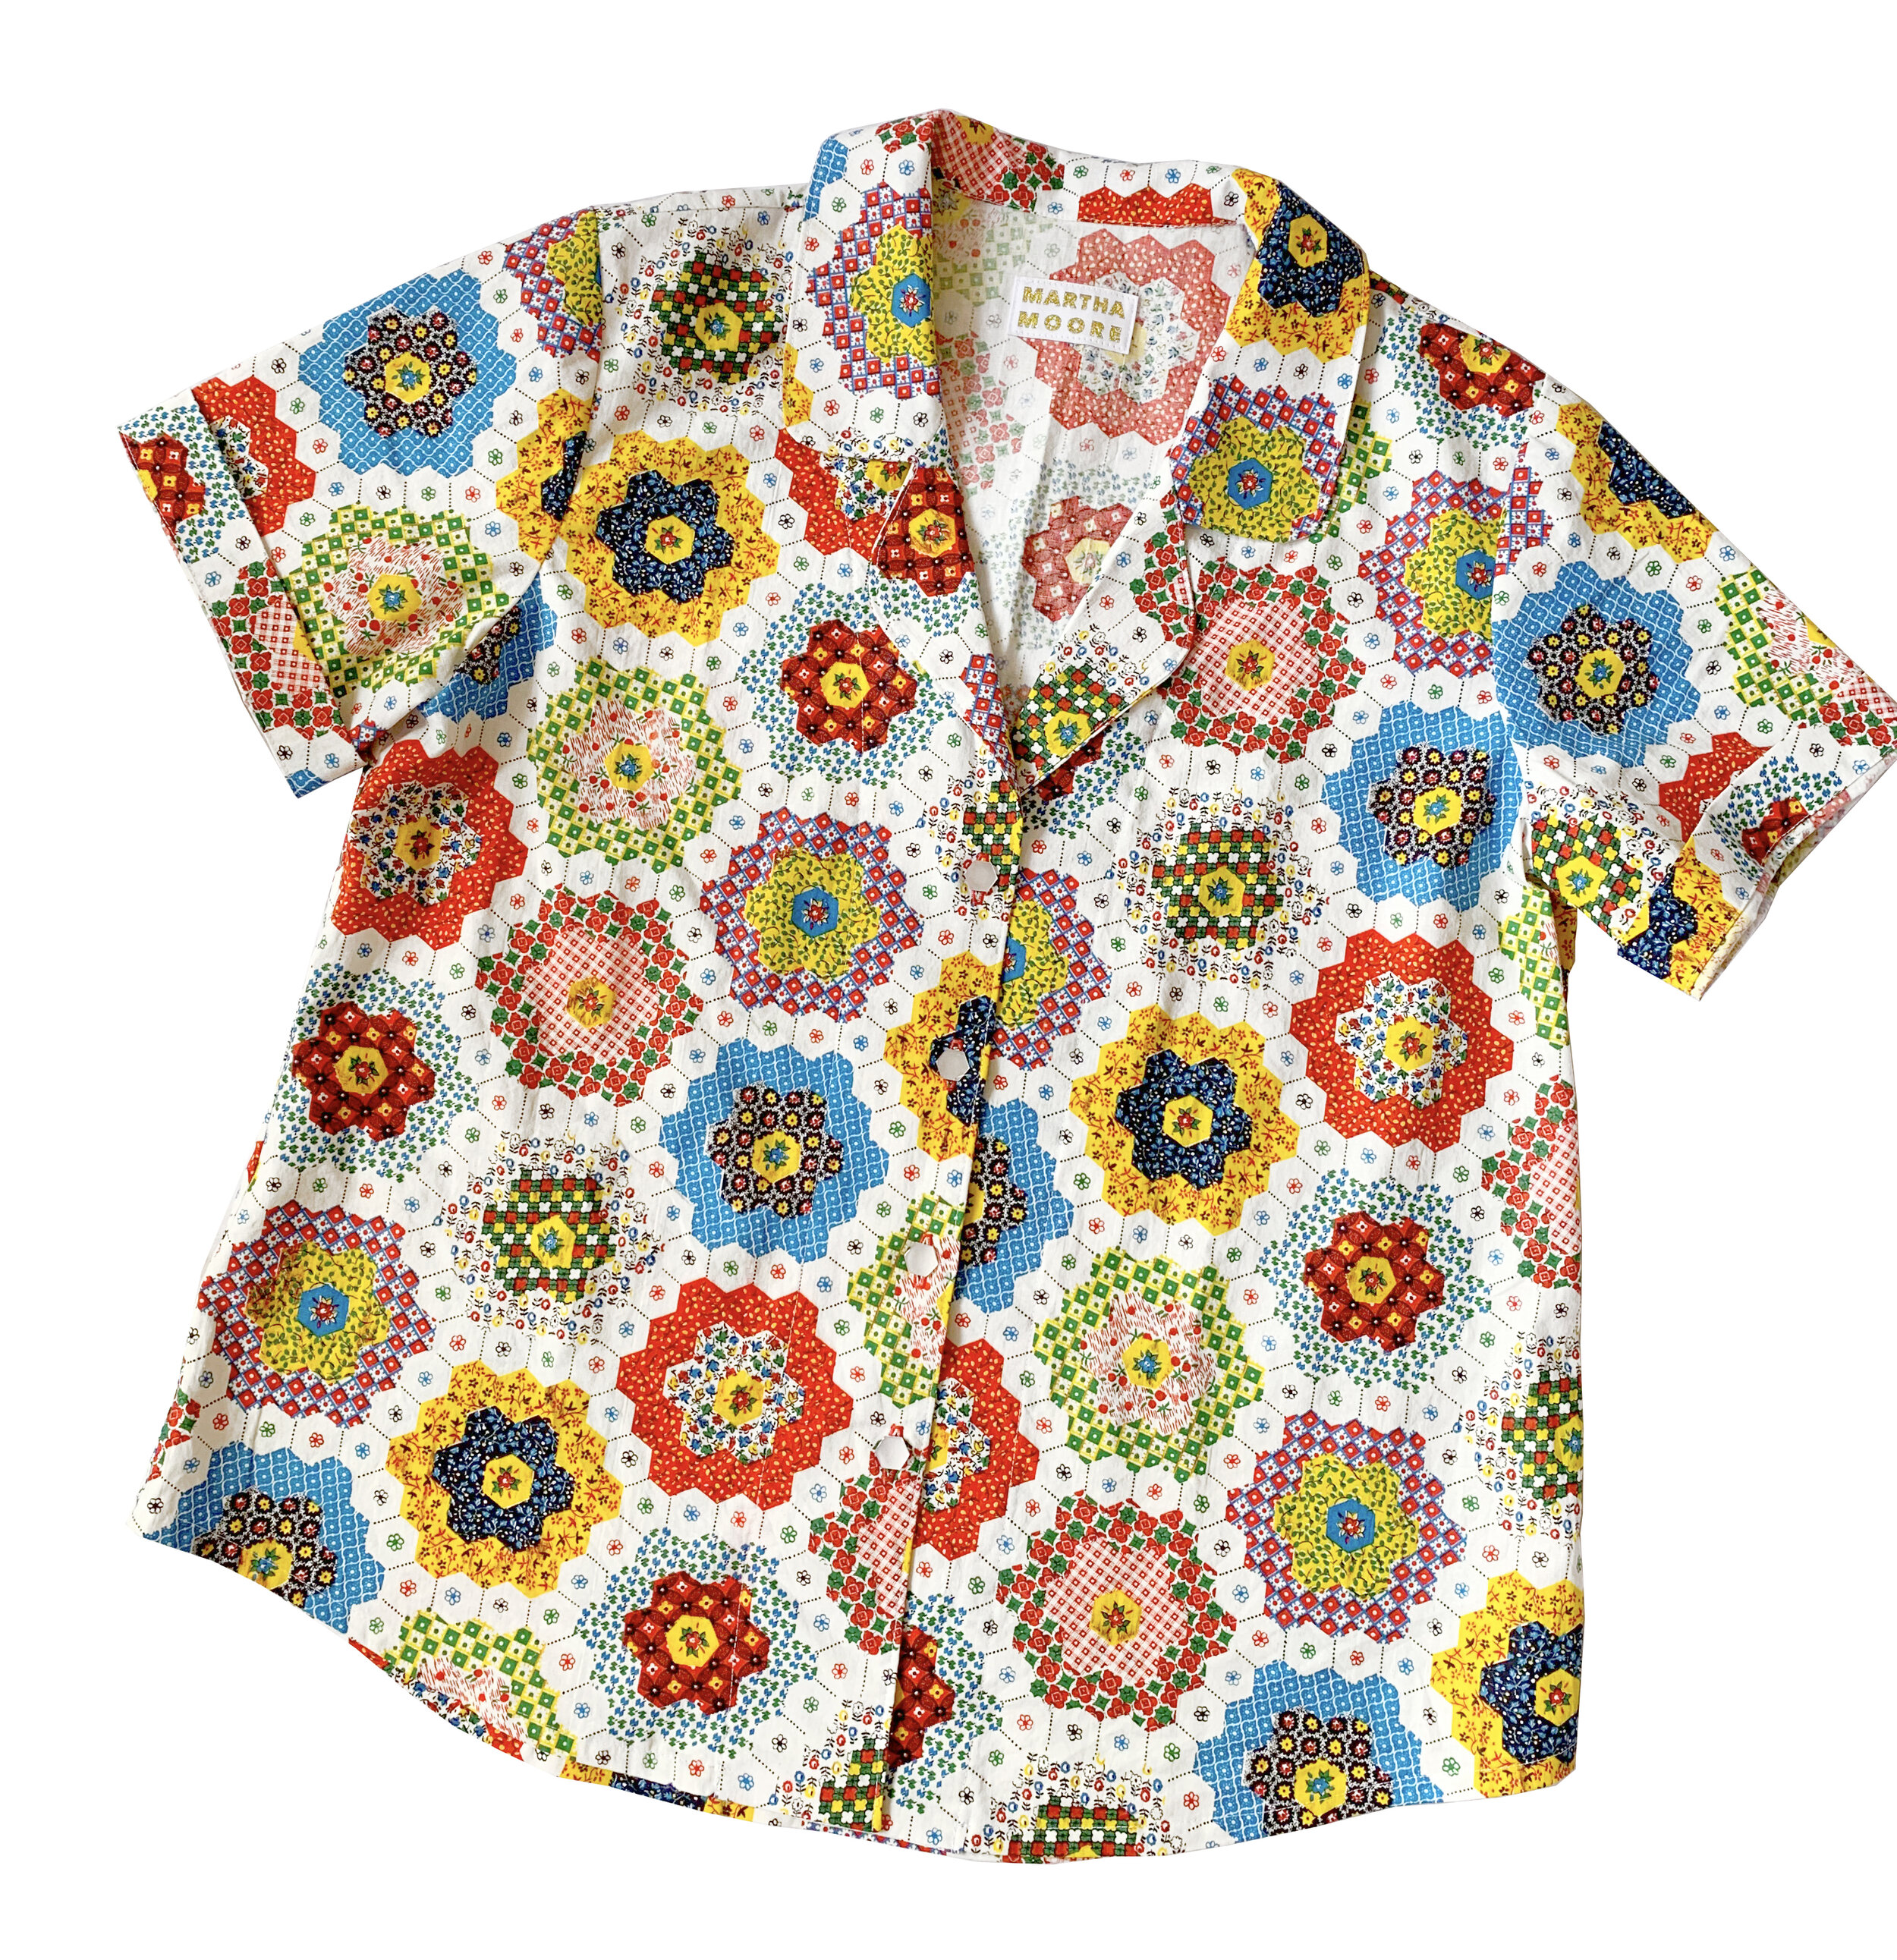
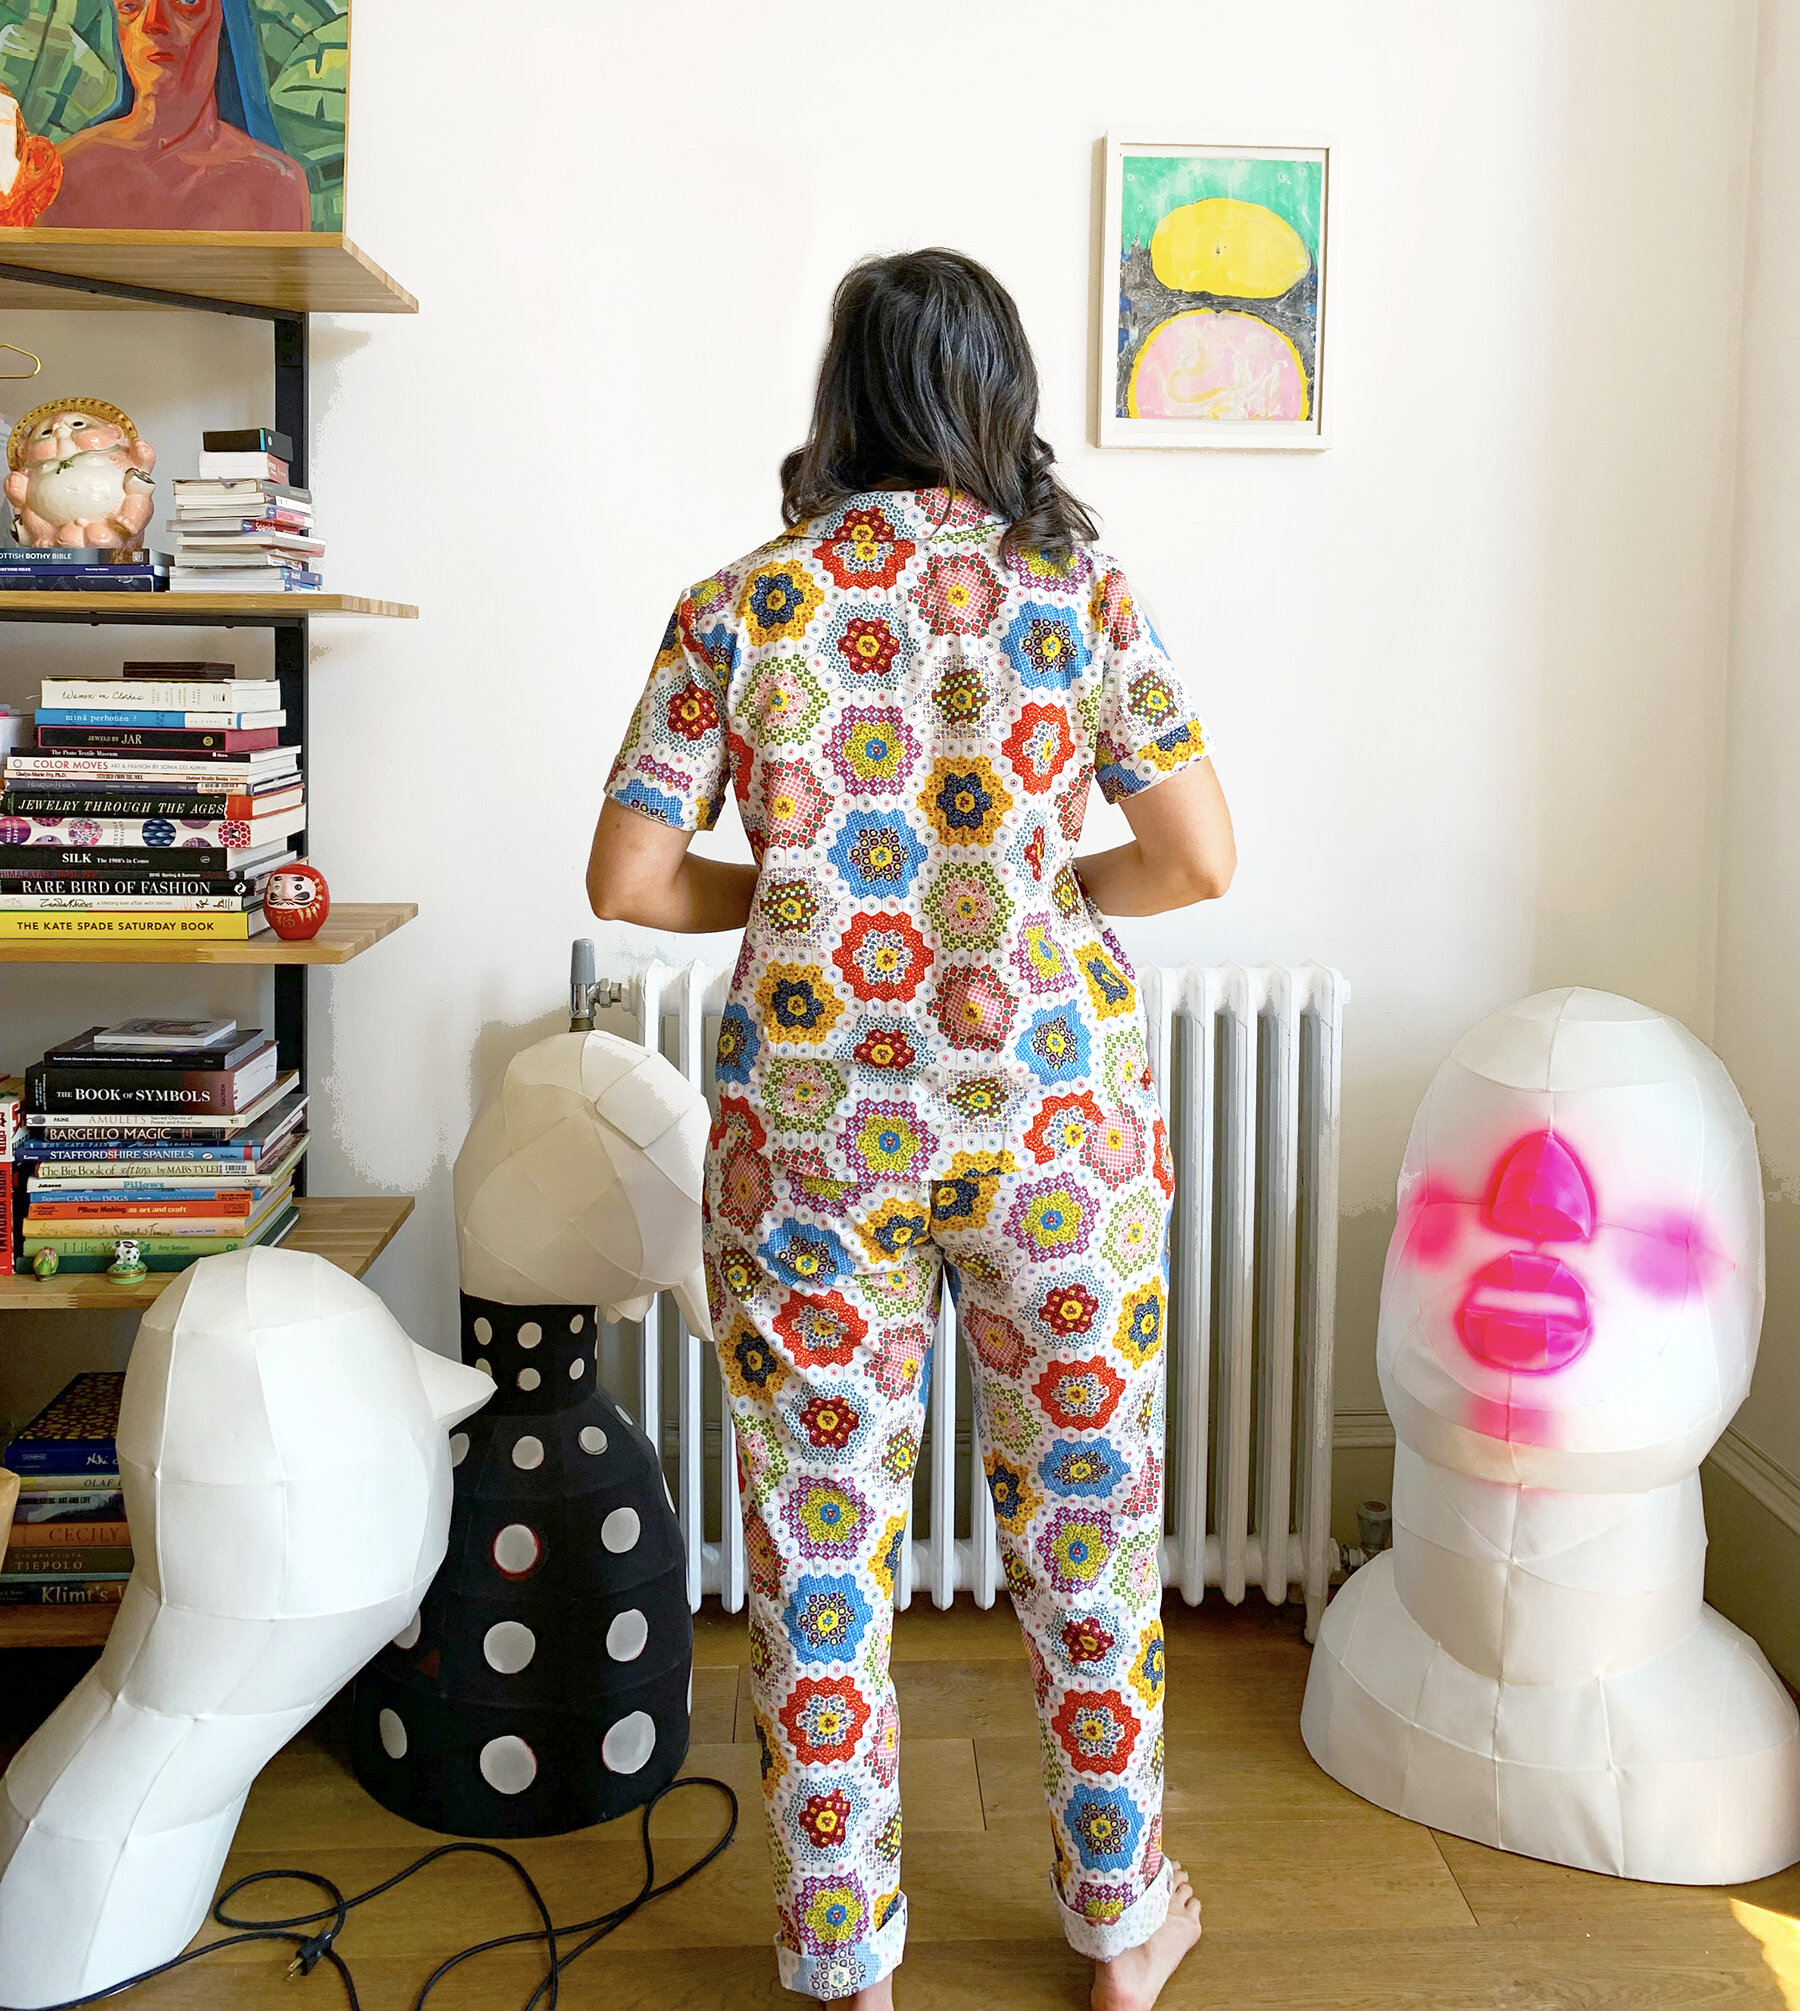
For the top, I shortened 2” at the lengthen/shorten line, and lengthened the short sleeves by 4”. Both these choices were to make the top more outside appropriate. I also left off the breast pocket, because I’ve never used it, and on this pair, I prefer the print uninterrupted.
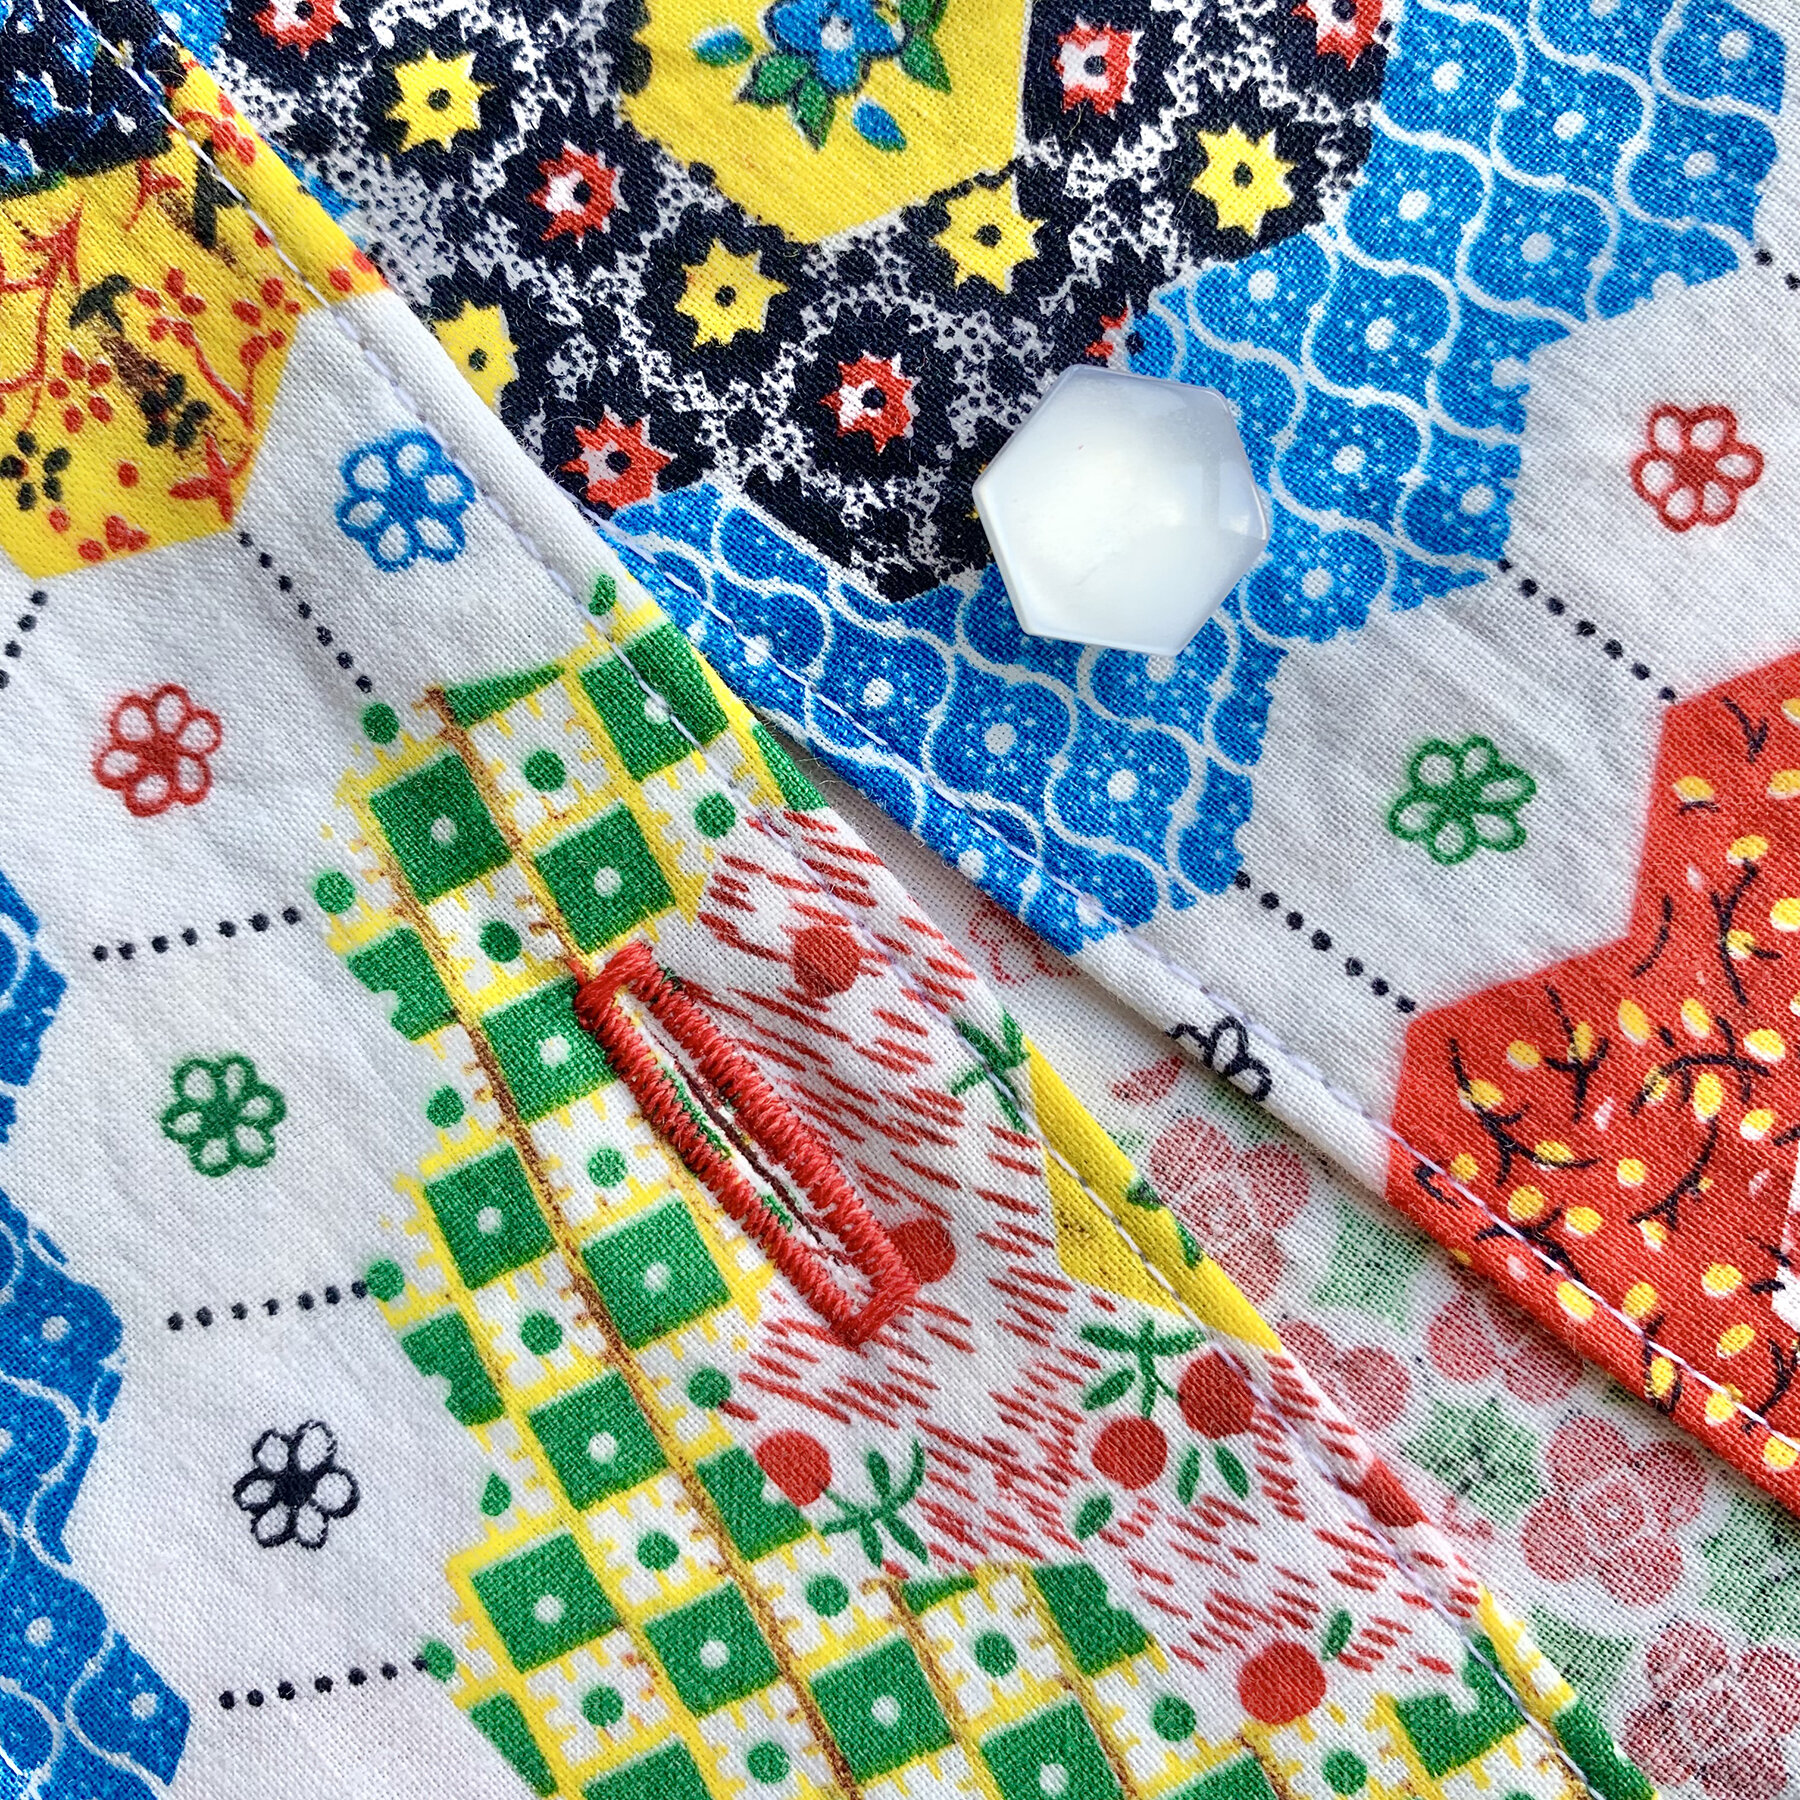
I’m super pleased with my new buttonholes & buttons from stash
I sewed these jams on my new sewing machine, which I have been so happy with! (Machine review coming soon.) I am very pleased with the buttonholes on this machine. While I find my old Bernina can make a denser, super satiny buttonhole, my new Singer is so easy to use. The settings and foot with a compensation plate lead to a foolproof and fast experience.
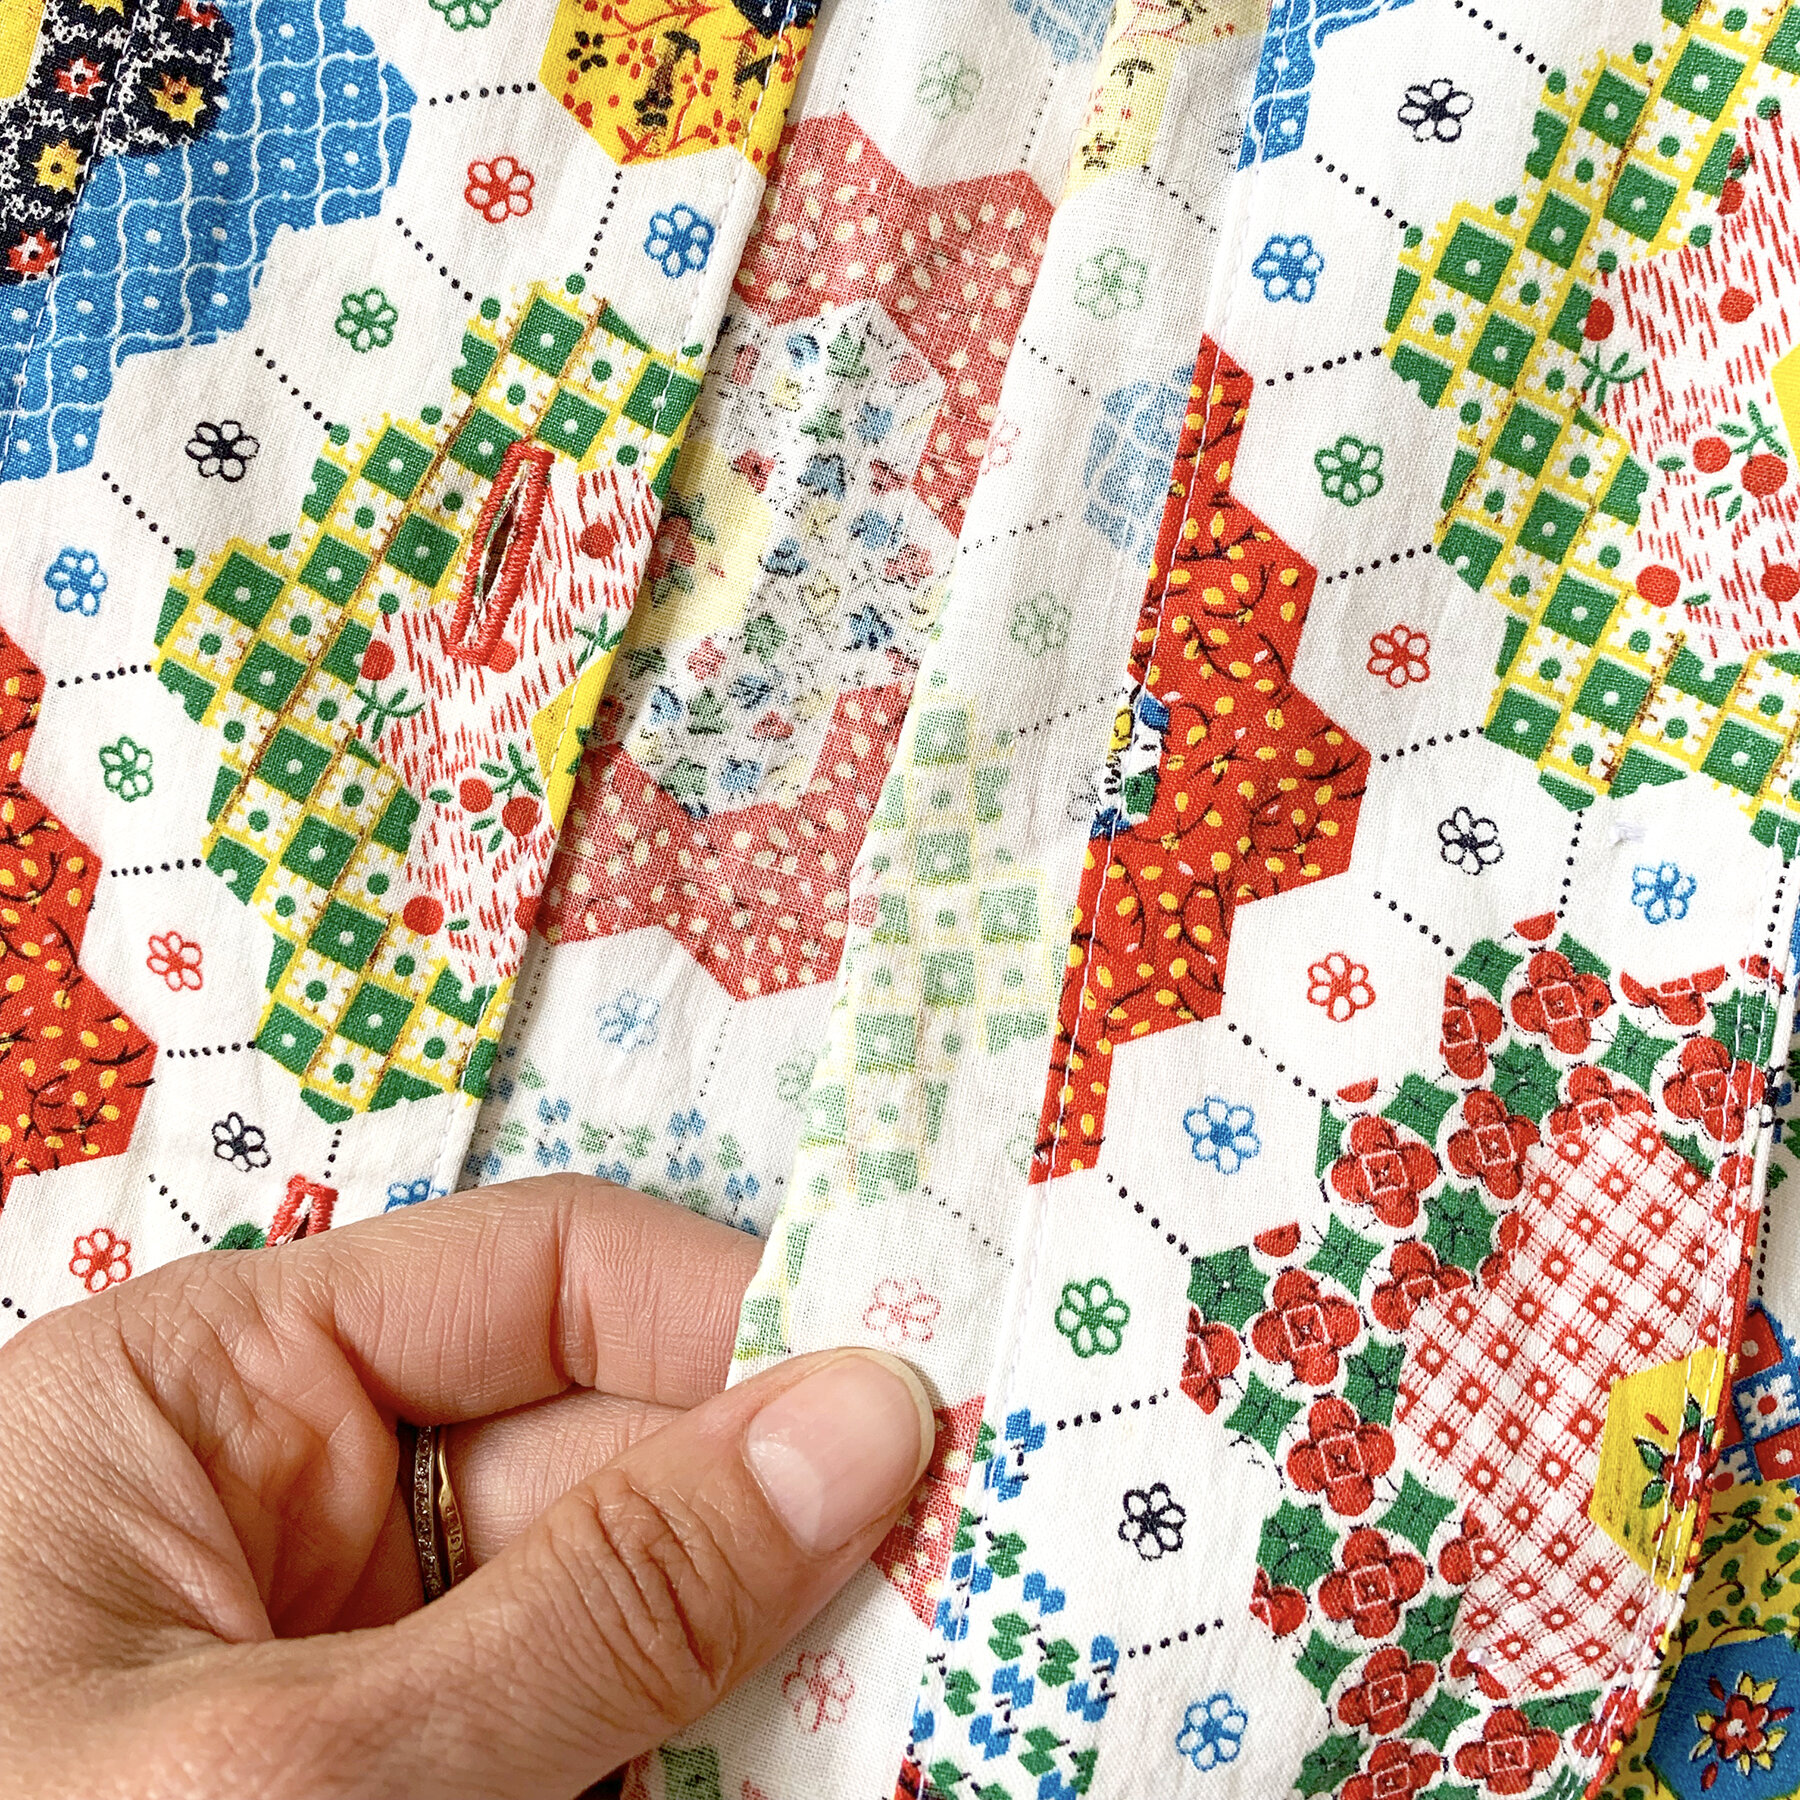
Regarding buttons, you know I love diving into my stash and finding just the right ones. I actually purchased these opalescent hexagons rather recently, at a shop here in Glasgow that is going out of business. They perfectly match the hexagons in the print!
Something I now do on all versions of this pajama top: For the front placket facing, I do not finish the edge of the facing when the pattern instructs. I just press the raw edge under, and then proceed with construction. After topstitching around the edge of the placket/collar/etc., I go back to the facing. I top stitch it down, along the pressed under edge - its the line of stitching by my thumb. Yes, this adds a top stitching line to you PJs (you can see the front of the shirt in the top left corner)....but the trade off? If you don't do this, the placket is often rumpled after laundering, and doesn’t lay flat unless you iron it.
With the changes I made, I can easily tie the top at my waist, and cuff the short sleeves. I wanted to shift the proportions so the shirt would pair easily with high waisted jeans.
As for the pants, I tapered the leg and lengthened them 3” from the uncuffed version of the pattern. I find wide leg PJ pants ride up when I'm sleeping, so I find this more comfortable. I’m not sure how much I tapered them since I made that modification on a previous version, but they’re still loose and comfortable. Full disclosure, I still haven’t hemmed these! I’ll get to it!
I love this pants pattern, however, it is very “Pajama”, so I wanted to tweak it to be wearable out and about if I ever want to dress in some casual quilted pants. Lol. It was my first time doing this and I like it: I removed a 2” wedge from center back, gently curving and tapering to nothing about 6” down the center back seam. I find these pants generously sized - my waist is much smaller than my hips, and I can still get these on/off with plenty of room and now there is no bunching at the lower back.
The only other change is one I almost always make to elastic waistband pants: I add 2 rows of zig zag top stitching around the waistband. This way you can distribute the gathering exactly as you want it, and then lock it in place. It also prevents any elastic twisting, and I find over time, it lays pretty flat as you wear them.
So that’s it! A quick and fun project that got six yards of vintage fabric out of stash and on my bod! I’m happy I can wear these around the flat sipping coffee on the weekends - my favorite time to plan new sewing projects. Still have to make plans for some of my other precious cuts! XO, Martha
